

NocoDB is an open-source, low-code platform that turns any database into a smart spreadsheet.
If you’re familiar with Airtable, it’s similar to that but open-source. Yay! 🎉
This is a quick tutorial for uploading a .csv file to NocoDB using a Python script.
We will run a docker instance of NocoDB on your local machine and upload your data into a NocoDB smart spreadsheet using Python with the help of pandas, python-dotenv, and the requests module. Let’s get started!
Install Dependencies
First, make sure you have the following dependencies installed on your machine:
Docker
Python3
Pip3
Build the Project Structure
Next, create the following files in your working directory:
upload_files.pyrequirements.txt.env(important: keep this private, make sure to include it in your.gitignoreif pushing to GitHub)
Then, move the .csv file of your choice into your working directory.
For this project, I am using a dataset containing Youth & Adult Literacy Rates, downloaded and unzipped from Kaggle. I named this example literacy_rates.csv and moved it into my working directory.
Finally, list the following dev dependencies in your requirements.txt file:
The requirements.txt file will look like this:
python-dotenv
pandas
requests
Launch a Local Instance of NocoDB
First, clone the open-source NocoDB repo:
git clone https://github.com/nocodb/nocodb
Next, cd into a docker-compose directory for your database of choice (I used PostgreSQL):
# for MySQL
cd nocodb/docker-compose/mysql
# for PostgreSQL
cd nocodb/docker-compose/pg
# for MSSQL
cd nocodb/docker-compose/mssql
Start running the container in the background:
docker-compose up -d
Now your NocoDB instance is running in the background! 🎉
Log into the NocoDB UI to see your local instance here: http://localhost:8080/dashboard
Create a Project in NocoDB UI
After logging into the NocoDB UI (http://localhost:8080/dashboard), it’s time to create a NocoDB Project and Table. The Project contains your NocoDB Tables, which store your dataset.
To create an empty Project, simply click New Project and specify its name. Learn more about the architecture of NocoDB Projects in the official docs.
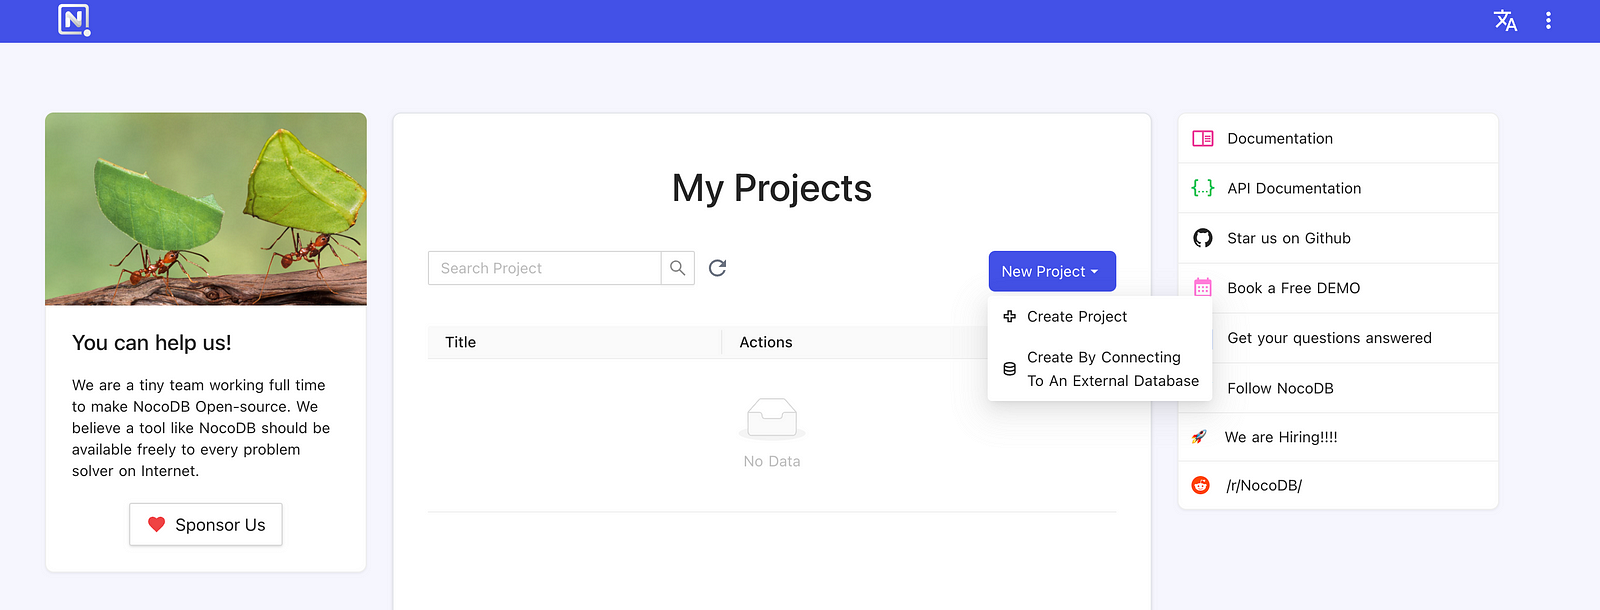
Creating a new Project in the NocoDB Dashboard
Create a Table in NocoDB UI
Next, create a new Table in your new Project by selecting Add new table in the upper left-hand corner of your Project Dashboard, as shown below.
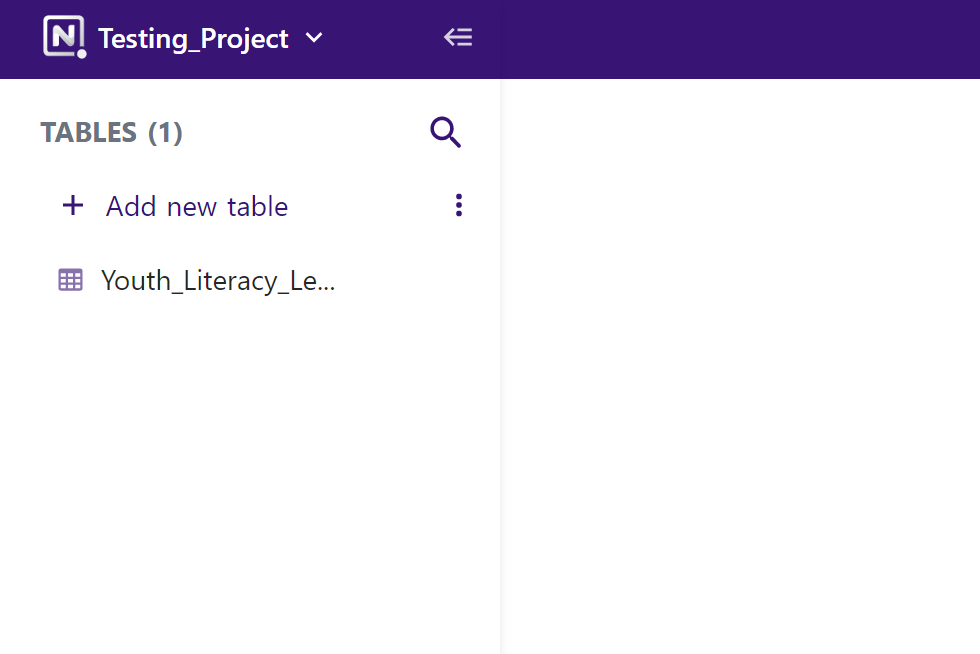
Create a new table in your Project Dashboard
When creating a Table, a pop-up will appear to specify its name and expand for more details to select default columns, as pictured below. In my case, title was not necessary, but I always recommend created_at and updated_at columns in any dataset. The primary key Id is selected for you by default. Learn more about creating a table and these default columns in the official docs here.
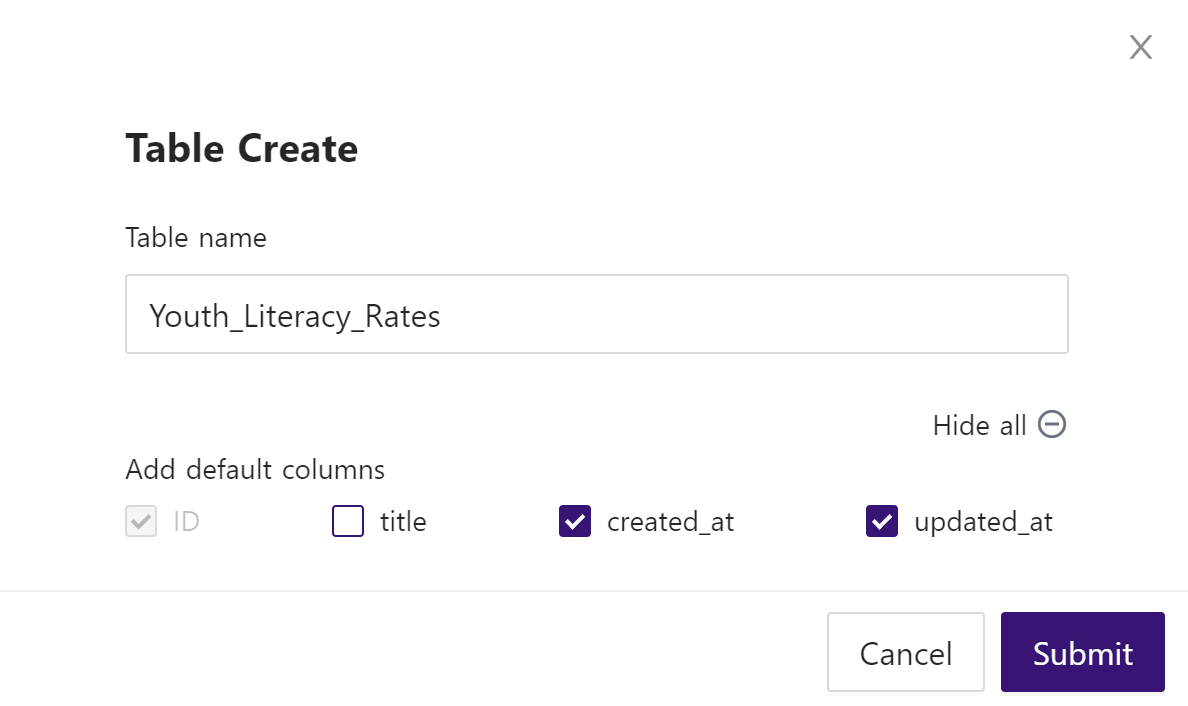
Create a Table expanded pop-up to select default columns
In this example, my table’s primary key Id is set using the index of the pandas data frame, so that if you run the script again, it will return a Bad Request error and not double-upload rows by an accident.
Add Columns to Table in NocoDB UI
Next, in your Table’s Dashboard in the NocoDB UI, add your dataset’s columns and their respective data types. Start creating columns by clicking the + icon on the right corner of the table, as shown below.
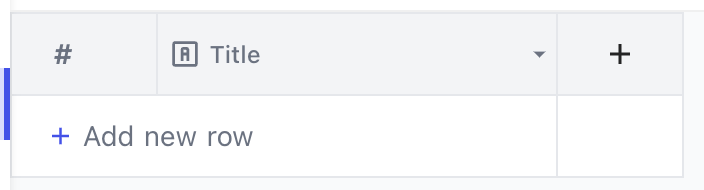
Create a column in your Table Dashboard
Next, enter the column name and choose the column type. Learn more about NocoDB Column Types and see the full list in the official docs.

Creating columns and specifying column types in NocoDB Table Dashboard
For my example literacy_rates.csv, these were my columns and respective column types:
Region,
SingleLineTextCountry,
SingleLineTextYear,
YearAge,
SingleLineTextLiteracy rate,
Decimal
IMPORTANT: Make sure that your columns are accurately named as they are in your data file.
Voila! Your NocoDB Project and Table are created and ready to be populated with data. 😎
Retrieve Auth Token and Build .env File
Next, we need to connect to the NocoDB API and build out your .env file before writing your script.
First, click on your Project name in the NocoDB UI and select Copy Auth Token, as pictured below.
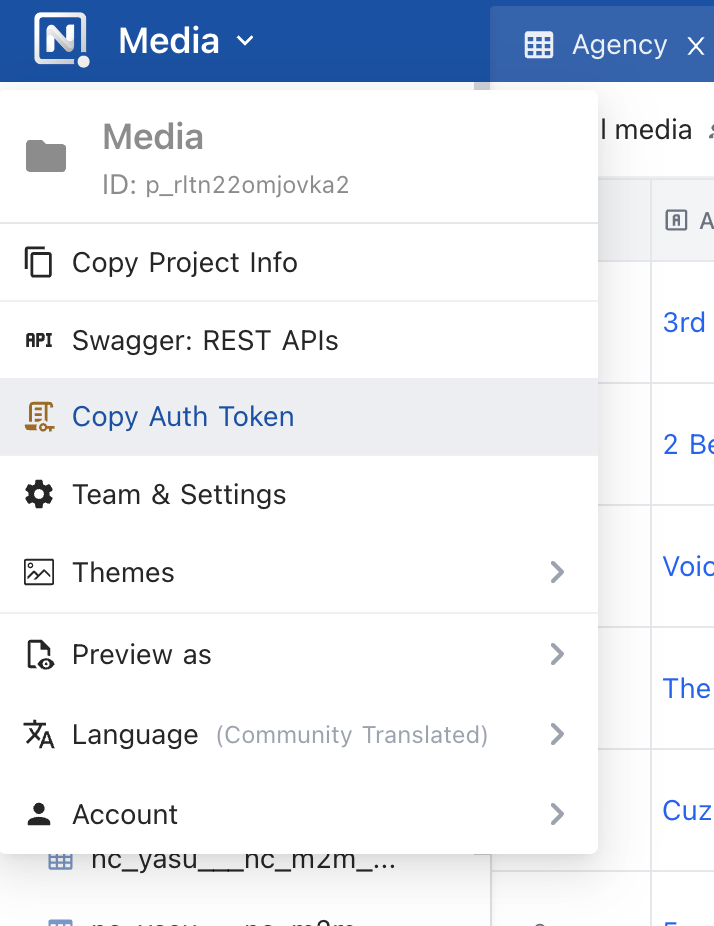
Copy auth token in NocoDB
IMPORTANT: The Auth Token expires every 10 hours, so you will need to get a new one as needed. Learn more about accessing the NocoDB API and how to change the token expiration in the official docs.
Next, build the .env file with the following values.
These values are needed for the API call:
nocodb_auth_tokennocodb_urlnocodb_project_namenocodb_table_name
While these values are needed for reading the .csv file:
nocodb_upload_file_pathnocodb_upload_file_chunk_size*to break large files into smaller chunks to upload
The .env file should look like this:
nocodb_auth_token=<your auth token>
nocodb_url=http://localhost:8080
nocodb_project_name=<your project name>
nocodb_table_name=<your table name>
nocodb_upload_file_path=./literacy_rates.csv (or other file)
nocodb_upload_file_chunk_size=1000000
Write the Python Script
Now we have everything ready to start building your upload script! 💻
First, head on over to the upload_file.py where you’ll write a script composed of 4 parts:
import statements
initializing environment variables
API call
reading the .csv file
The import statements include all dev dependencies and any other requirements your system needs to read from the .env file:
from dotenv import load_dotenv
from os import getenv, path
import pandas as pd
import requests
Next, initialize environment variables from the .env file using the load_dotenv() function.
You will also need the prefix of the path to the NocoDB data API.
To find this, head back to the NocoDB UI and click the rightmost button next to your Project in the upper-left corner, then click Swagger APIs Doc, as shown below.
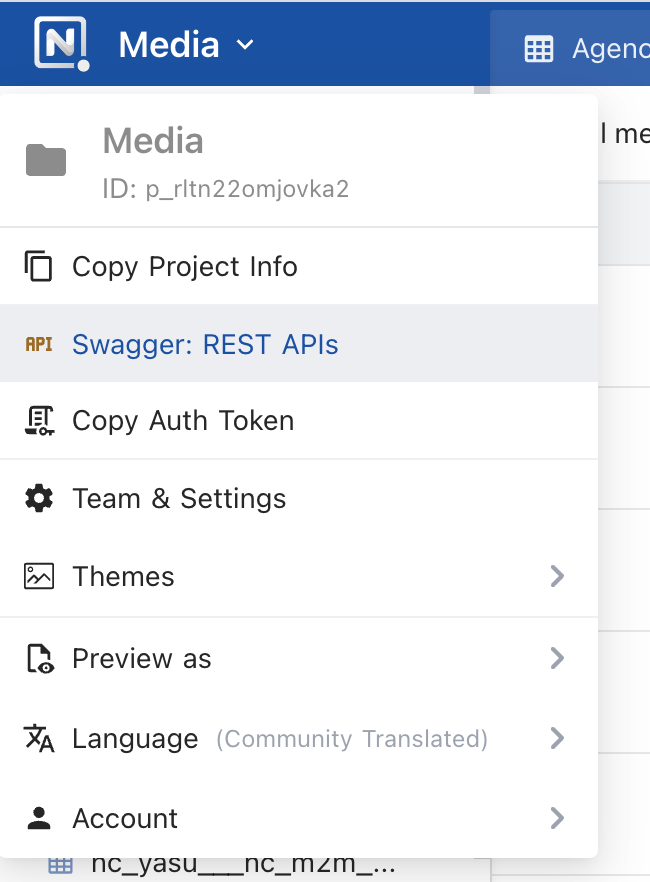
Find Swagger REST API docs in the NocoDB Project Dashboard
You will be led to the Swagger REST API docs, which include pre-filled endpoints for your Table.
We will use the POST endpoint for inserting a new row in a table by providing a key-value pair object where the key refers to the column alias. The endpoint will look something like /api/v1/db/data/v1/<your project>/<your table>. Declare the prefix of this path as its own variable, as shown below:
# from SWAGGER docs
V1_DATA_PREFIX = "api/v1/db/data/v1"

# load the environment variables
load_dotenv()

auth_token = getenv('nocodb_auth_token')
nocodb_base_uri = getenv('nocodb_url')
project_name = getenv('nocodb_project_name')
upload_file_path = getenv('nocodb_upload_file_path')
table_name = getenv('nocodb_table_name')
chunk_size = int(getenv('nocodb_upload_file_chunk_size'))
Now it’s time to start building the API call.
First, we will construct the API call header, and then the URI:
# authenticate with the api key
headers = {
    'xc-auth': auth_token,
    'accept': 'application/json'
}

# construct the uri for the upload
insert_row_uri = path.join(nocodb_base_uri, V1_DATA_PREFIX, project_name, table_name)
Next, use pandas to read through the .csv file and use the Python requests module to make the API call.
# read the csv file in chunks
for df in pd.read_csv(upload_file_path, chunksize=chunk_size):
    # upload the file one row at a time
    for index, row in df.iterrows():
        # body of json request
        body = row.to_dict()
        body['Id'] = body['index']
        # for testing purposes, view data printing in CLI as it uploads
        # print(body)
        r = requests.post(insert_row_uri, headers=headers, json=body)
        r.raise_for_status()
Finally, your upload_file.py should look like this:
from dotenv import load_dotenv
from os import getenv, path
import pandas as pd
import requests

# from SWAGGER docs
V1_DATA_PREFIX = "api/v1/db/data/v1"

# load the environment variables
load_dotenv()

auth_token = getenv('nocodb_auth_token')
nocodb_base_uri = getenv('nocodb_url')
project_name = getenv('nocodb_project_name')
upload_file_path = getenv('nocodb_upload_file_path')
table_name = getenv('nocodb_table_name')
chunk_size = int(getenv('nocodb_upload_file_chunk_size'))

# authenticate with the api key
headers = {
    'xc-auth': auth_token,
    'accept': 'application/json'
}

# construct the uri for the upload
insert_row_uri = path.join(nocodb_base_uri, V1_DATA_PREFIX, project_name, table_name)

# read the csv file in chunks
for df in pd.read_csv(upload_file_path, chunksize=chunk_size):
    # upload the file one row at a time
    for index, row in df.iterrows():
        # body of json request
        body = row.to_dict()
        body['Id'] = body['index']
        # for testing purposes, view data printing in CLI as it uploads
        # print(body)
        r = requests.post(insert_row_uri, headers=headers, json=body)
        r.raise_for_status()
Run the Python Script
Run pip to install your dev dependencies in requirements.txt, then run the upload_file.py script.
pip3 install -r requirements.txt
python3 upload_file.py
Finally, verify the upload in the NocoDB UI! 🎉 You should see your NocoDB Table populated with your dataset.
Resources
You can find the full code for this project here: https://github.com/kyleecodes/upload_files_nocodb